Are you craving a taste of the tropics? Look no further than Hawaii Manju Recipe! This delectable treat is a beloved staple in Hawaiian cuisine, known for its soft, sweet dough filled with various delightful fillings. Whether you’re a seasoned chef or a novice in the kitchen, creating your own batch of Hawaii Manju is sure to bring a taste of paradise to your home. In this article, we’ll dive into the fascinating history of Hawaii Manju, explore the key ingredients and steps to make it from scratch, and share some tips and tricks to ensure your Manju turns out perfectly every time.
Unraveling the History of Hawaii Manju
To truly appreciate Hawaii Manju, it’s essential to understand its cultural significance and rich history. Manju, derived from the Japanese word “manjū,” is a traditional Japanese confection consisting of a sweet dough filled with various fillings such as sweet bean paste, fruit preserves, or custard. The roots of Manju trace back to Japan, where it has been enjoyed for centuries as a popular dessert.
The introduction of Manju to Hawaii dates back to the late 19th and early 20th centuries when Japanese immigrants arrived in the Hawaiian Islands to work on sugar plantations. Along with their hopes and dreams, these immigrants brought with them their cherished culinary traditions, including the art of making Manju. Over time, Manju became ingrained in Hawaii’s multicultural culinary landscape, evolving to incorporate local ingredients and flavors while retaining its essence.
Today, Hawaii Manju is not only a beloved treat enjoyed by locals but also a symbol of the diverse cultural tapestry that defines Hawaii. Its popularity extends beyond the islands, with visitors from around the world eager to indulge in this delightful delicacy.
Ingredients for Homemade Hawaii Manju
Making Hawaii Manju from scratch is a rewarding endeavor that allows you to tailor the flavors to your liking. While the exact ingredients may vary depending on the recipe and filling of choice, here are the basic components you’ll need to get started:
For the Dough:
- All-purpose flour
- Baking powder
- Sugar
- Butter
- Milk
- Vanilla extract
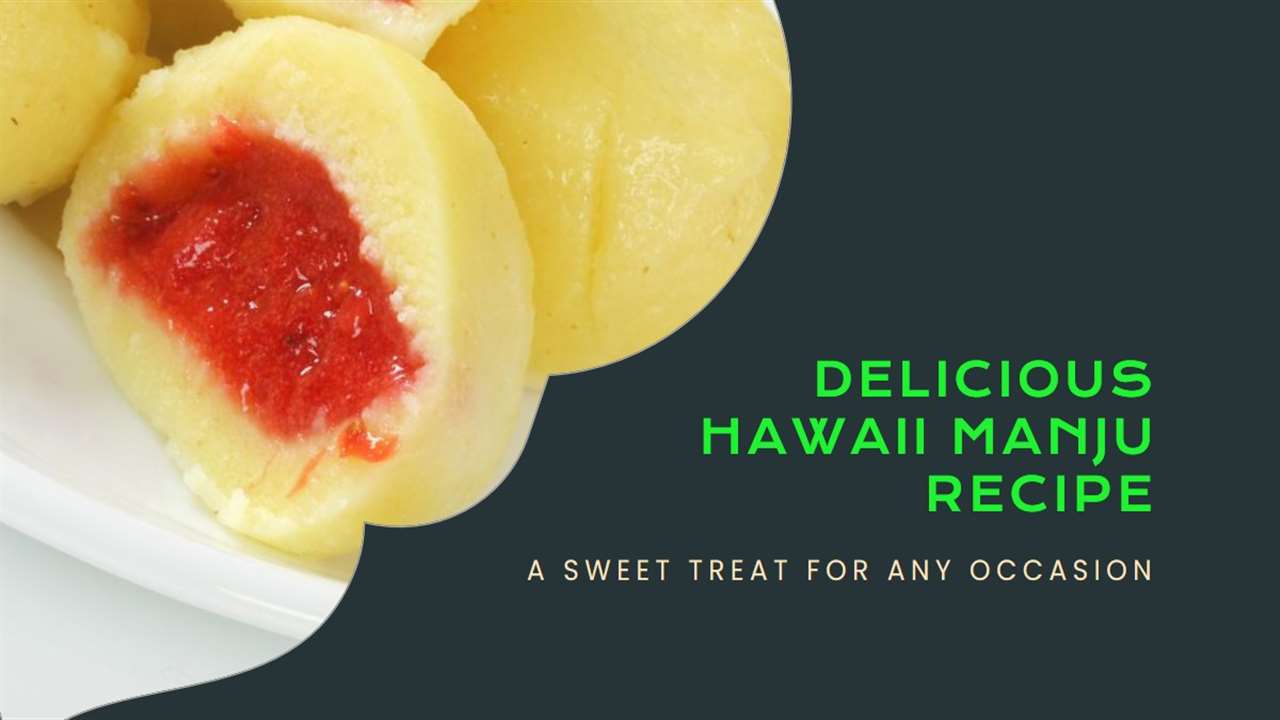
For the Filling:
- Sweet red bean paste (anko)
- Fruit preserves (such as mango or guava)
- Custard
Step-by-Step Guide to Making Hawaii Manju
Now that you’ve gathered your ingredients, it’s time to roll up your sleeves and start baking! Follow these simple steps to create your own batch of Hawaii Manju:
- Prepare the Dough: In a mixing bowl, combine the flour, baking powder, and sugar. Cut in the butter until the mixture resembles coarse crumbs. Gradually add the milk and vanilla extract, stirring until a soft dough forms.
- Shape the Dough: Divide the dough into small portions and flatten each portion into a circle. Place a spoonful of your desired filling in the center of each circle.
- Seal the Manju: Carefully fold the dough over the filling, pinching the edges to seal it completely. You can crimp the edges for a decorative touch if desired.
- Bake to Perfection: Preheat your oven to the specified temperature and place the filled Manju on a baking sheet lined with parchment paper. Bake until golden brown and cooked through.
- Enjoy!: Once baked, allow the Manju to cool slightly before serving. These delightful treats are best enjoyed warm, straight from the oven, but they can also be stored and enjoyed later.
Tips for Success
- Keep it Cool: When working with the dough, it’s essential to keep it chilled to prevent it from becoming too sticky. You can refrigerate the dough for a few minutes before shaping it.
- Experiment with Fillings: Don’t be afraid to get creative with your Manju fillings! Whether you prefer traditional sweet bean paste or want to try something new like tropical fruit preserves, the possibilities are endless.
- Perfect the Seal: Ensuring a tight seal when enclosing the filling is crucial to prevent any leaks during baking. Take your time to pinch and seal the edges securely.
- Mind the Oven: Keep an eye on your Manju as they bake to avoid overcooking. Every oven is different, so adjust the baking time as needed to achieve the perfect golden hue.
Conclusion
In conclusion, Hawaii Manju is a delightful fusion of Japanese tradition and Hawaiian flavors that continues to captivate taste buds around the world. By following this simple recipe and incorporating your own personal touch, you can bring a taste of paradise into your home kitchen. So why wait? Gather your ingredients, unleash your creativity, and embark on a culinary journey to Hawaii with homemade Manju!
For more ideas, recipes, and cooking tips and tricks, please visit us at Laura Jane Barber.
FAQs About Hawaii Manju Recipe
Q1: Can I make Hawaii Manju with gluten-free flour?
A1: Yes, you can substitute gluten-free flour for all-purpose flour in this recipe to accommodate dietary restrictions.
Q2: How long will homemade Hawaii Manju stay fresh?
A2: Homemade Manju can be stored in an airtight container at room temperature for up to 2-3 days, or you can freeze them for longer shelf life.
Q3: Can I use other types of fillings besides the ones mentioned?
A3: Absolutely! Feel free to experiment with different fillings such as chocolate, peanut butter, or even savory options like cheese or meat.
Q4: Can I make the dough ahead of time and refrigerate it?
A4: Yes, you can prepare the dough in advance and refrigerate it for up to 24 hours before shaping and baking the Manju.
Q5: Are there any vegan alternatives for the filling?
A5: Yes, you can make a vegan-friendly filling using sweetened mashed fruits, coconut cream, or dairy-free custard. Just ensure they’re thick enough to hold their shape when baked.